If you’re an iPad user, most of you may have taken a look in their latest invention, the Apple Pencil. Most of us think that the Apple Pencil is just a stylus. However, due to the fact that it must be connected to Bluetooth and is battery-powered, it is not a stylus at all. Unknown to most of us, we can use the Apple pencil not only as a replacement for our fingers but also, using this one prevents accidental scratching of the screen. You can defend yourselves by saying that the oleophobic coating and screen protector is made for that purpose. Its most notable function, however, lies in the fact that it can go to places in your iPad screen where your fingernails must not.

Setting the pleasantries aside, in order to use the Apple Pencil, you must do these easy steps:
- Pair the Apple Pencil via Bluetooth. The truth is, pairing your Apple Pencil with your iPad Pro (it doesn’t support Air and Mini, yet) is the easiest Bluetooth pairing that can be made by a device so far. The only thing that you need to do is to plug it in the lightning port of iPad, the port that is at the bottom of the Home Button. Make sure that your Bluetooth is turned on, tough.
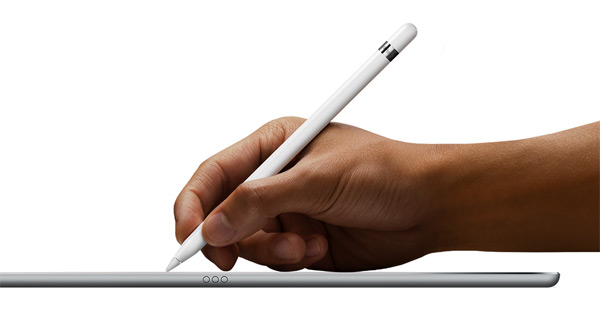
- Start Drawing or Writing with Apple Pencil. The main purpose of a pencil is to draw and write something, isn’t it? Well, if it isn’t that obvious, the Apple Pencil’s purpose is for writing and drawing something in your iPad screen. This is very convenient especially if you want to draw some pictures or writing scribbled notes most of the time.