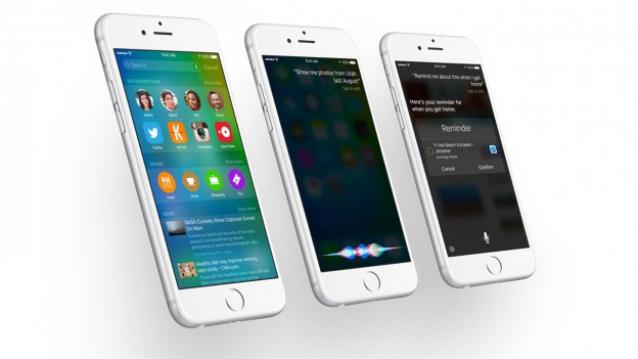
Just a few days ago, Apple started seeding its newest operating system, the iOS 9, to iUsers who have compatible devices that can accommodate it. While many had been consumed with the excitement, hence downloading it as soon as the go signal was fired, they also discovered about the bugs and lags accompanying iOS9. So if you’re one to experience this inconvenience, your immediate response would be a downgrade.

The first thing you should remember in downgrading is to back up your data and files. Additionally, note that downgrading to iOS 8.4.1 will only work for as long as Apple continues to permit this process to happen by simply signing the firmware files for this version. With that in mind, follow the directions below in order to downgrade your iOS into verson 8.4.1.
Directions
- On your computer with iTunes program, go to this link and download the file named as iOS 8.4 ISPW.
- Meanwhile, on your iPhone, head to the Settings app and turn off Find My iPhone. If you are going to downgrade your iPad OS, there’s no need for you to perform this step.
- Hold the power button then perform a swipe to simply turn off your handset.
- Again, go to your desktop or computer and fire up the iTunes program.
- Connect your iPhone and iPad and after that, start holding the power and home buttons simultaneously for about 10 seconds. Next, release the power button but still hold the home button for another 3 seconds.
- iTunes should detect that your device is in device firmware update mode. Now, if the device starts up normally, repeat Steps no. 3 until 5.
- Back in iTunes, select your device and proceed immediately to the Summary
- Press the Restore button as you hold down the Shift (for Windows) or Option (for Mac).
- When the file browser opens, go o the link where you’ve downloaded iOS 8.4.1 IPSW.
- As soon as the setup routine has been completed, your iOS device will go to the new setup screen in a way that the new device would.
- Just follow the screen instructions as faced on the instructions and then setup the device.
