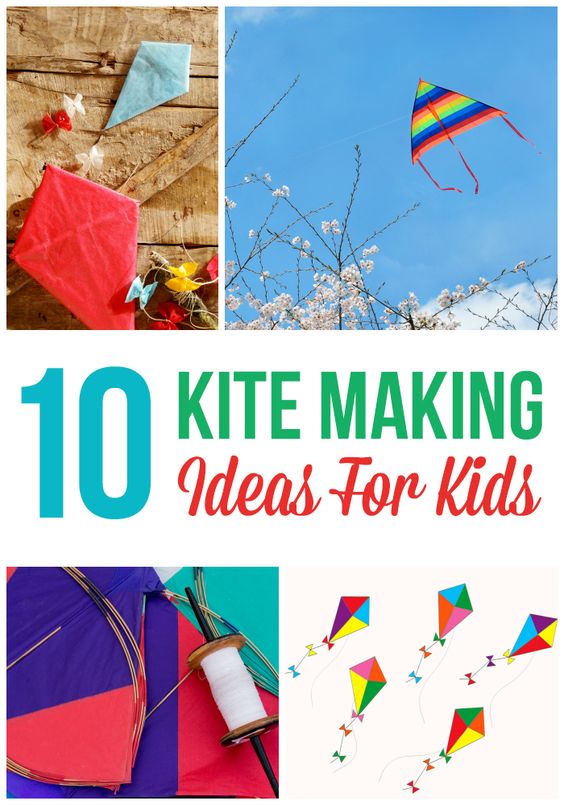
In almost every country around the world, flying kites are definitely one of the best joys that childhood can give. When it comes to kites nowadays, there are now many different designs aside from the diamond-shaped ones. And since making kites is also a kind of worthwhile activity for children, there’s definitely no doubt that everyone, whether you’re a child or an adult, will enjoy making these.
How to Make a Flying Kite with Your Kids
Regardless of the size and shape, kites are somewhat very easy to make, provided that you have all of the necessary materials. And since making kites can be very innovative, it truly depends on the maker’s imagination on how he or she will make the kite as long as he or she abides with the kite making basics. Kite making basics include making the kite controllable as well as lightweight since, heavy kites are very hard to control, if not impossible to fly.
What you’re going to need
- 1 pc. Sixty-inch long yarn
- 1 pc. Twenty inches of ribbon (optional)
- 4 pcs. 12-inch Wooden Dowels
- 2 pcs. 24-inch Wooden Dowels
- 2 ft. Wax Paper
- Tissue Papers or even Plain Recycled Paper
- A pair of scissors
- White or Clear Glue
- Paint
- Paint Brush
- Glue Stick
- Glue Gun
Instructions
- Once you have everything prepared, make sure that you’re going to accompany your kid while making this one. Needless to say, don’t let your kid play with the hot glue.
- Start by laying out the two-feet-long wax paper whether on the table or on the floor. Give your kid a paintbrush, some white glue, scissors and pieces of tissue or recycled paper. Let your kid cut the tissue into pieces and decide where to glue those pieces in the wax paper.
- Next, paint the dowels and let it dry for a while. Once done, glue the two longer dowel pieces together and set it up on the newly-designed wax paper. Glue the shorter dowel pieces into the wax paper and shape it into a diamond. Make sure that you use the hot glue in putting the dowel pieces together. Let everything get dry for at least overnight.
- Design and make the kite’s tail by putting tissue paper pieces on a sixteen-inch yarn before fastening it on the kite. Attach one end of another yarn to the kite’s middle and tie the other end to the place near the kite’s tail.
- Finally, cut and tie another string to the string you tied at the kite’s middle part. Your newly-made kite is now ready to fly.