
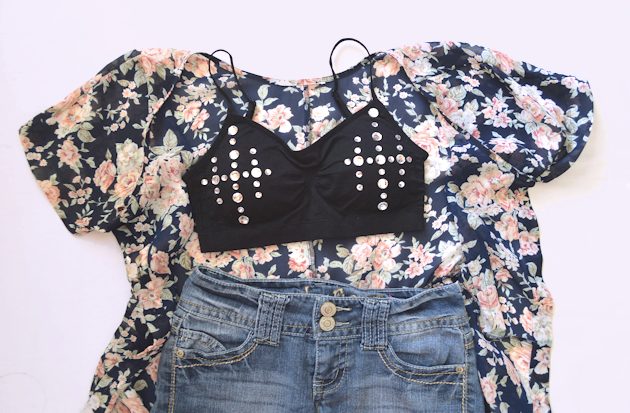
If you’re a party girl, then rhinestone bra is definitely one of the most highly recommended outfits for you. You will never feel out of place if you wear it during music festivals or clubbing. You can wear it alone as a top for a more daring look or tone it down with a cardigan or tank top—have it your way.
While you can spend a couple of bucks for a rhinestone bra, you can also opt to make your very own. Not only you can save those bucks but you can also get your preferred style and taste. Just follow the steps given below and you can create your rhinestone bra.
Materials
- Bra
- Measuring tape
- Fabric glue (or strong craft glue)
- Rhinestones (the flat-back kind)
- Toothpick (optional)
Directions
- First, measure the height and width of one bra cup as this will help you determine the size of your rhinestone design.
- Choose your own design and carefully plan how to execute it before actually gluing the rhinestones to your bra. Remember that you are using a strong craft glue or fabric glue and making a mistake may mean mess or damage.
- Attach the rhinestones to the bra with ample amount of glue applied to the back. Do the gluing one rhinestone at a time. Be systematic in attaching the stones and feel free to use your tape measure to determine the spacing. To help you with applying glue to smaller rhinestones, you can make use of a toothpick.
- Depending on your design, it is best for you to work on from the middle then outwards for symmetry. Complete a single row before moving on if you are working on a striped design.
- Once your design on the first cup is finished, repeat the pattern on the other cup (unless you opted for an asymmetrical design for your bra).
- Leave the bra for the glue to dry completely which may take you for about 24 hours.