For those who didn’t know, AIDE stands for Android Integrated Development Environment and is an app that lets you build or program other app while you’re outside. It supports full Android SDK and is very good for making simple tools and testing new ideas.

If you want to try out AIDE, you must follow these steps.
- Download the AIDE App from Google Play Store or to their Official Site.
- Boot up AIDE and you will see ‘Learn’ and ‘Code’ tabs. Under the Learn heading, you will see the Java, Android App and More options. The Code heading, on the other hand, is for Android Experts.
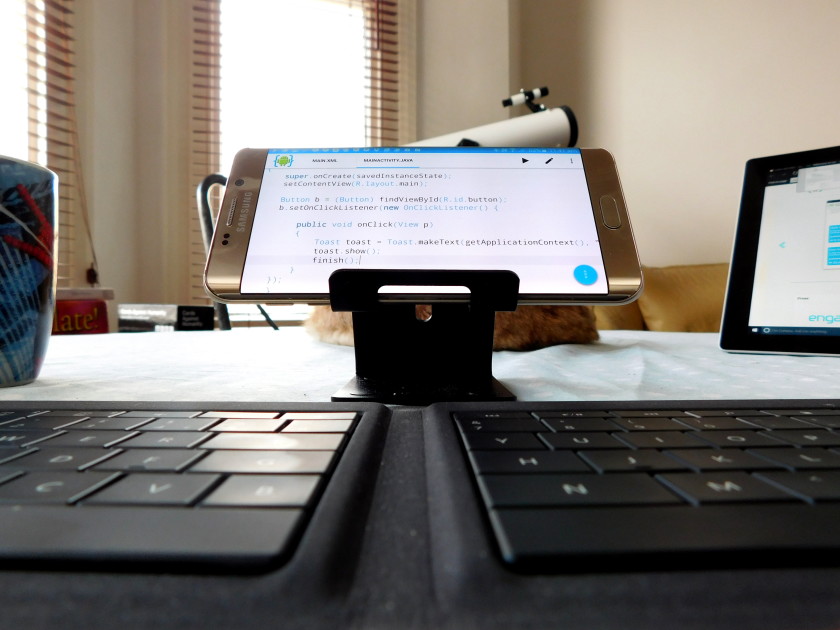
- Select New Android App option, Put in your desired file name and choose Create. From there, you will see the MAIN.XML and MAINACTIVITY.JAVA tabs, where the XML will represent your app’s look while the JAVA will represent your app’s behavior.
- Next to MAINACTIVITY.JAVA tab, you will see the Play, the ‘Gallery Type’, Pen and Menu icons. The Gallery icon will let you see how your app will look like when it’s compiled and run while the Pen icon lets you edit your app’s programming code. Needless to say, the Play icon lets you run your app in your android phone.
- In the MAIN.XML tab, type whatever you want in android:text You can change the default text ‘Hello World’ to ‘Hi Everyone!’ or to anything that pleases you. After that, click the Play button and see what happens.
Keep in mind, though that the Pen or Edit icon is locked in free versions. If you want to use the Design icon, you must pay a small monthly fee.