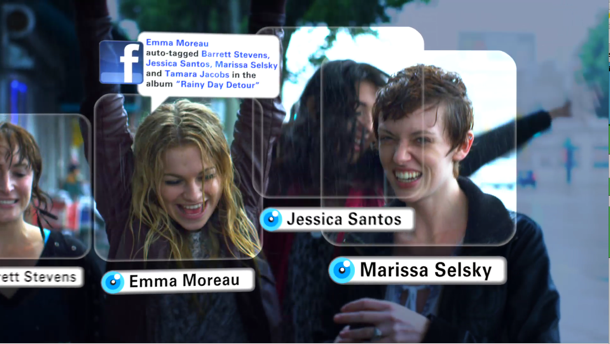
You may be familiar with face recognition as a camera feature. Then Apple Photos, Facebook and Google Photos bear this very same feature. With this feature, you can easily organize your photos based on people’s faces. Currently, you can’t assign names yet for the identified faces on your photos. But we heard that the development for this feature is on its way.

Facial recognition feature is now available in iPad, iPhone and Android devices. Google Photos web version also sports this option but in case you haven’t seen it yet, that’s because it’s not yet available for netizens outside the borders of USA.
A brief note seen in Google Photos site says that the feature may not be available in some of the countries. But since we’re talking about Google (or Android) here, we always have ways to work around.
Directions
- On your Android device, head to your phone settings>>Apps>>Photos which is located under the Downloaded category of apps.
- Click on the Clear Data button of your Google Photos app to reset it.
- Then head to the Google Play Store and look for the TunnelBear, Hola or any VPN app you trust.
- Download and install your choice of VPN app.
- Launch, connect and let it do its ‘tricking thing’ over Google Photos. As soon as its servers detect your fake US location, you are then given permission to have access on the facial recognition
- Open your Google Photos and skip past the wizard screen. Go to Settings and permit the option that says Group Similar Faces—Auto Group photos by matching faces.
