We may notice that despite our android smartphones are getting smarter and smarter; something is still amiss with these mobile assistants. What good old Windows powered desktop and laptops reliably have is the ‘Recycle Bin.’ As we all know too well, the Recycle Bin is one place where the trashed files are saved, so you can get them back just in case you want to recycle them.

Looking back at our android handsets, we know that we don’t have this feature. We don’t know why Google omitted such wonderful aspect. Surely they have their own reasons for not having this in the OS, right? Luckily, we get the access to have this amazing recycler at hand. Just follow the steps below and—tadah!—you get to have your own Recycle Bin.
Directions
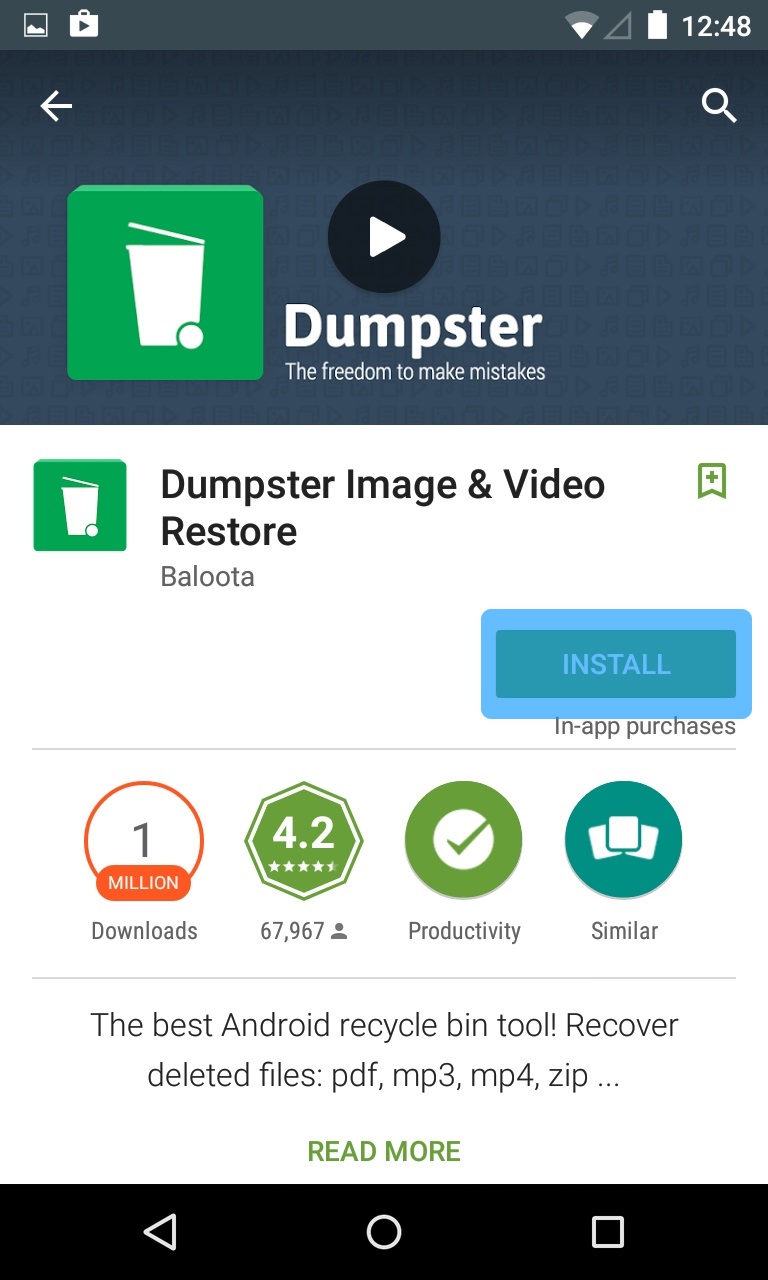
- Open your Google Play store, download and install the Dumpster application. No worries, folks, because this application is free. You can simply click (or tap) on this link should you want a shortcut: https://play.google.com/store/apps/details?id=com.baloota.dumpster&hl=en
- Open the Dumpster, agree to the terms of the license agreement and set up the app. The interface is quite simple and very practical. Initially, you may want to choose several files under different formats (like documents, audio, image, videos, apps, application updates and archives) that you want to preserve just in case.
Further, you can also see another see of settings. Leave them be but if you want to customize, then by all means, suit them to your own convenience.
- As you click on Next, the Dumpster will analyze the contents within your file storage and other aspects that it needs to configure. As it ends its configuration, it proceeds to a page that informs you that when you delete something, it reflects right onto it.
- As you may want to test it, select some file you are not afraid of losing just in case you get the bad end of the deal. Anyhow, it’s going to be seen listed inside the Dumpster. The application makes the list really organized by classifying the deleted files as per category. Moreover, it gives you the right amount of information in each app, making your reconsider deleting them.
- In case you want the files you deleted to be totally decimated, tap on the ‘Empty Dumpster’ button among the option list on the left. This way, all the files within Dumpster are surely deleted.
But just in case you want to get rid of (or restore) a particular file, tap on the category. A sliding menu will appear and give you options of deleting or restoring all the files within the category list. If you want to be more specific, then tick on them and you can delete or restore the ones you selected.