Developers are quick in reaction about HTC One M9, most especially when it has made its official introduction to the public. As a result, developments such as custom recovery, bootloader feature has been unlocked and most importantly, rooting for this device was made possible. To demonstrate, here are the steps which you can do using TeamWin’s custom TWRP recovery and SuperUser’s rooting of One M9. All you have to do first is to unlock the bootloader and you’re all set. You don’t need to be an expert, just follow this tutorial and you can bask in the glory of a One M9 made better!

Directions
- You must acquire Minimal ADB and Fastboot which is acquired through unlocking the bootloader. You must also download the HTC Sync Manager so you can get the drivers into your computer. Use this link to acquire the manager.
- Download the custom recovery for your One M9, so use this linkand save the .img file within the same directory where you can locate the Minimal ADB installation.
- Download the SuperSU.zip file from this link.
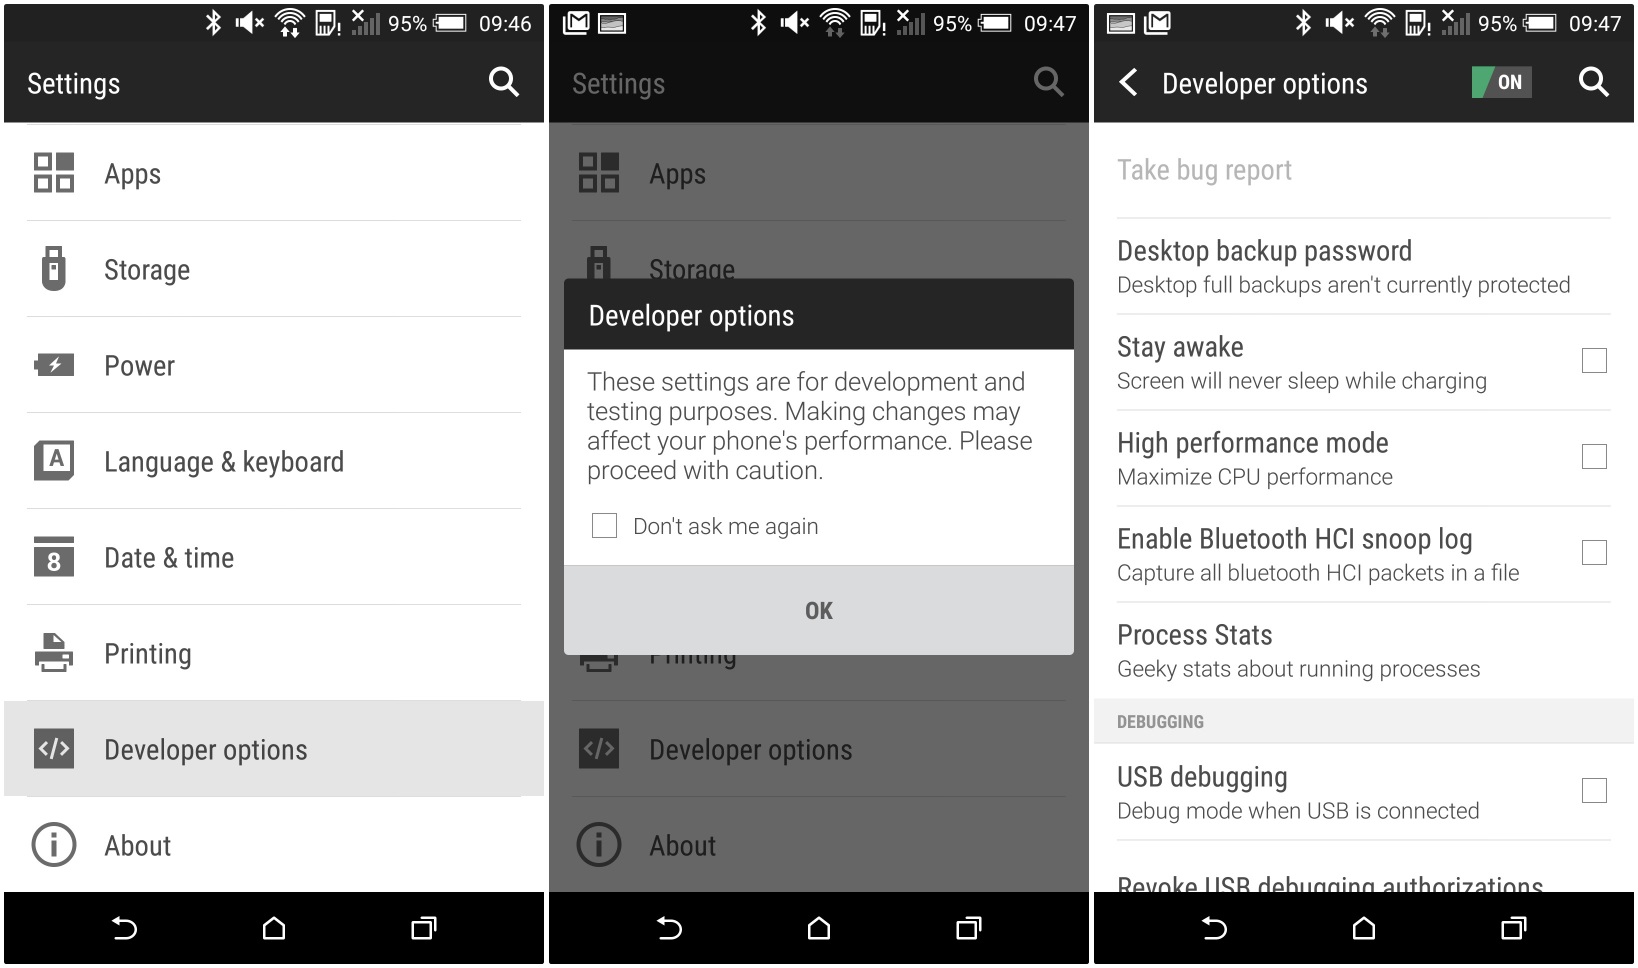
- Enable the USB debugging on your device (HTC One M9) which is you can locate from the Developer Options menu within the Settings menu. Just in case you can’t find it there, proceed to About menu and tap on the Build number entry until you are able to get the notification telling you that “You are now a developer.” After that, plug the device into your computer.
- Open the directory or folder where you installed Minimal ADB. Long press the Shift key, right click inside the empty space in the window and click on Open Command Prompt Here. Type or just past the following commands, one by one:
- adb devices
- adb reboot bootloader
- fastboot devices
- fastboot flash recovery TWRP.img
Now, if the name or label of the recovery file is different, fill it in place of TWRP.img.
- Reboot your smartphone and connect it to your computer. Put the SuperSU.zip file where you can easily access the folder right on your device storage. Turn off your smartphone for about 10 seconds then hold the Power and Volume Down keys at the same time. When the white bootloader flashes on your screen, choose Recovery.
- Use the TWRP to install the SuperSu.zip file by simply tapping the Install button, select the .zip file, and the application does the rest. After the installation, reboot the smartphone.
Now, using the root checker app like the free Root Checker in Google Play, test if the rooting has been successfully executed.