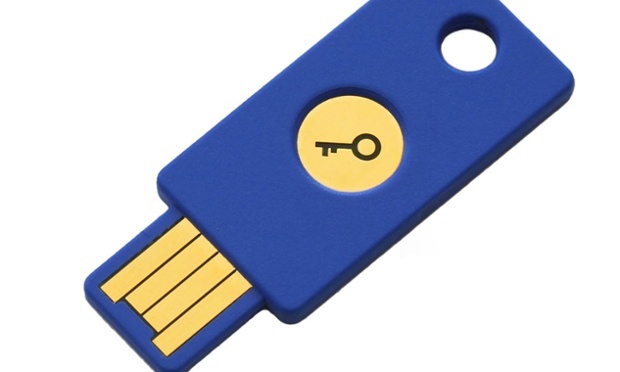
The thing about 2-factor authentication is that you intensify your account security. This method might sound familiar on your ears as they are normally associated with e-banking or bitcoin wallet. Currently, the stars of web services such as Gmail, WordPress, Dropbox, Evernote and Microsoft also support this security design. So even though someone knows the password to your account, another layer of protection comes to the rescue.
So what is this second layer of protection? It allows your mobile device to be the authenticator whenever you log in to your account. Verification codes may also vary from site to site. There are also mobile apps for this kind of verification process such as Authy or Google Authenticator. Aside from apps, there’s this easy click that could send codes through SMS or voice call. However, what we are going to have in this tutorial is authentication through your device’s USB port.
There are many USB key lock to choose from. All you need to do is to purchase one that suits to your taste and style. From herein, let’s start with registering your USB to your Google Account. Note that you are going to use a desktop computer or laptop here.

Directions
- First, go to your own Google account click on the 2-step authentication.
- Navigate through Security Keys
- Look for the Register Device button then insert your USB key into your computer port. You can then register the USB device to your Google account.
- When you’re done registering the device, you can then try logging in into your Google account with 2-factor authentication in any laptop or desktop computer without tapping through your mobile device. Open the Google log-in page and enter our username and password.
- Hit the Sign in button and insert your USB key.
- When you see the lights blinking on your USB, simply tap on it once and it will instantly give you access to your account.
