For outdoor lovers, the idea of camping is just like haven. The sense of adventure, the fresh air and that blissful feeling of going back to the raw company of nature. But let’s just be honest, when the darkness settles we can still feel a little (if not very) disconcerted. When suddenly your flashlight won’t just work and your spare batteries were forgotten way back home, won’t you feel panicky at such time?

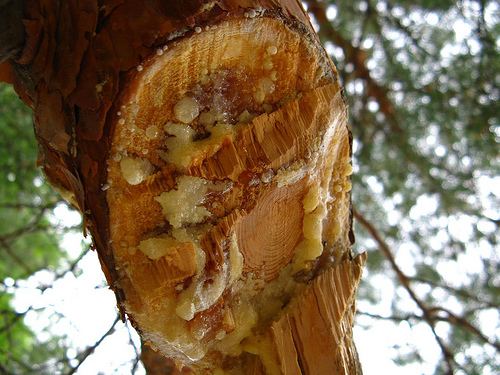
Now, if you just know how to make a torch during such times, it would be a different story. So this time, we’re going to help you how to create your own torch out from the pitch of pine trees. Take note that ‘pitch’ is yellow-orange, thick and sticky form of excretion from a pine tree’s trunk. ‘Resin,’ on the other hand, is the solidified form, and the ‘sap’ is the term used for the most liquefied from of the excretion.
Directions
- First, look for a thick green branch pole that will serve as the base of your torch.
- Cut the branch to make a torch head that is going to be several inches wide.
- Remove the sprouting, little branches from the would-be torch pole.
- Now, split the head part of the pole so you can me a holder for the pitch. To do this, you must make at least two deep cuts cross-wise using a saw blade, a wedge or a hatchet. You can improvise your tools should you not have any at hand.
- Next, you have to wedge a rock or small branch into the bottom of the splits. In effect, you can have an opening for the top of the head where you will place the pitch.
- Collect some pitch from the pine tree’s barks particularly in its knots and gouges.
- Press the pitch into the gaps of the torch head and when you’re done, begin to collect extra supply of pitch. You can use a flat rock, extra tin can or any extra container for storage.
- Light the torch using your lighter or using the boy (or girl) scout method of lighting fire.