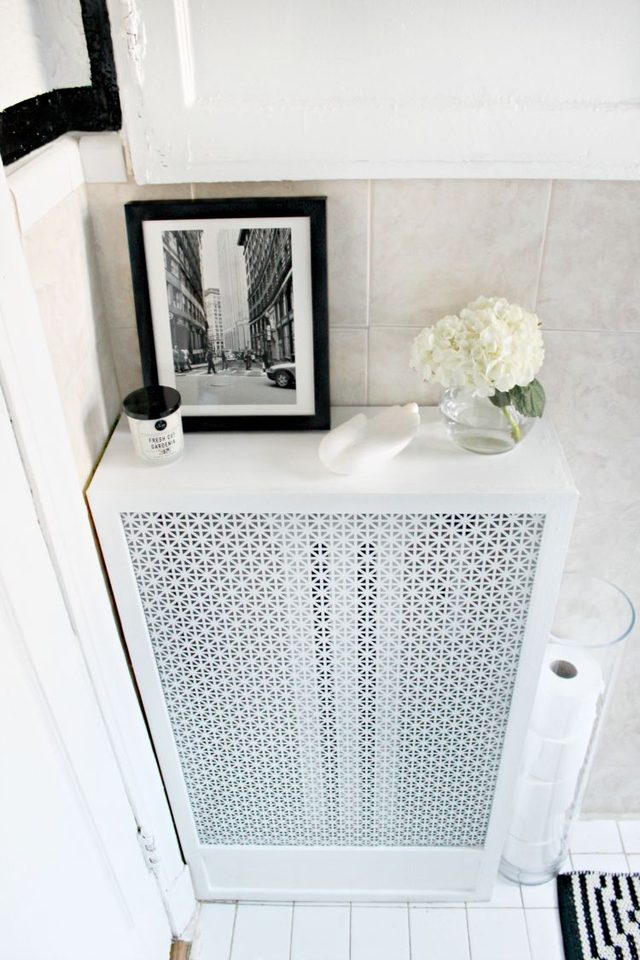
If you’re having a counter space in your bathroom or any room in that matter where your radiator is placed, then radiator cover is just right for your endeavor. It doubles as a flat-surfaced counter where you can put little things.

Materials
- Measuring tape
- Pine boards, cut to size
- Radiator tin (in any pattern you want)
- Miter saw (or hand saw)
- Hammer
- Drill
- Staple gun
- Paint and primer
- Spray paint
- Wood glue
- Liquid Nails
- Tin snips
- Clean cloth or rag
Directions
- Measure your radiator and as you want your cover to extend it along the wall and wider than the radiator itself, then you should use those measurements. Take note that you need to take the following measurements: the depth (from the front of the radiator to the back of the wall) and the height (from the floor to the top of the radiator).
- Assemble the shape of the radiator cover by taking one of the shorter boards. Nail it to the two longer boards to form the top and sides of the cover.
- Put the cover on its side and measure the inside of the bottom part. Cut the last board so it can fit within the two sides.
- Make sure that the base board is clean with what will be the front of the cover. You should drill to make small holes to ensure that the base board won’t be split.
- Also, try to fit the cover into the radiator to make sure that everything’s okay.
- Use the pine lattice board of 1 ½ inch wide for the trim.
- Measure the front area of the cover and cut the corners where the trim meets at a 45°
- Use small wood nails to hold the trim to the front of the cover. (You can also make use of Liquid Nails to hold the trim before you actually nail the cover.)
- For the baseboard, evaluate and cut the trim to fit inside the trim that goes along in front of the cover. This should make the pieces fit with the edges, making a good rectangular inset.
- Apply high-quality primer to the wood cover frame and while it is drying, cut the radiator tin. Wipe it with clean, damp cloth or rag to take away the filth or any dirt.
- When the primer is already dry, turn the cover on its face and measure its inside width.
- Mark the dimensions using a marker pen on the radiator tin and cut them using tin snips.
- Put the piece of the cut-out radiator tin into the cover, making sure that it exactly fits.
- Hold the can for about 1 foot away from the tin and commence to spray paint the metal.
- While it is drying, paint the cover with your color choice. You can also make use of this time to fill in any holes or gaps with wood glue.
- As the paint dries, slowly place the tin back into the cover.
- Now, use the staple gun to put the tin into place. Put 2-3 staples per side should do the work if you cut the tin into its exact size.
- Fit the cover into the radiator and enjoy its functional and decorative purpose.